Stable diffusion image to-image: A Practical Guide
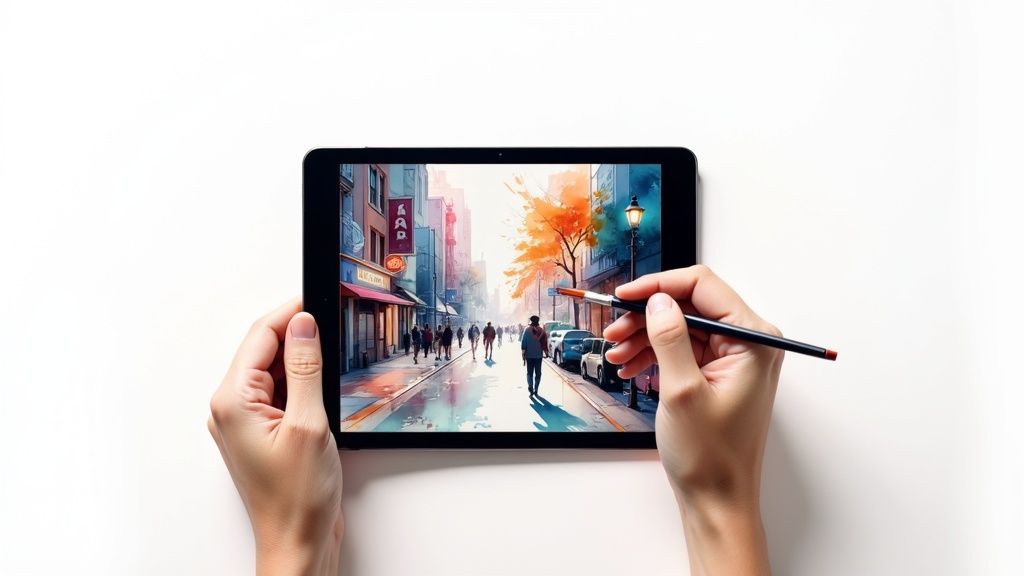
If you've ever felt limited by starting with a blank canvas in AI art, then Stable Diffusion's image-to-image process is about to become your new best friend. It's less about creating from scratch and more about becoming a creative collaborator with the AI. You can take an existing picture, feed it a text prompt, and completely transform it—reimagining its style, changing the setting, or altering subjects, all while keeping the original composition intact.
This is the secret sauce for turning a simple sketch into a photorealistic masterpiece or giving a mundane photo a completely new artistic life.
Going Beyond Text with Image to Image Generation
The real power of Stable Diffusion image-to-image—or img2img, as it's commonly known—is its ability to use your own pictures as a launchpad. Instead of trying to describe a complex scene from zero using only words, you give the AI a visual foundation. It then modifies that foundation based on your creative direction. This unlocks a universe of possibilities that text-to-image just can't touch.
Why Img2Img Is a Game Changer
At its core, this approach is all about iteration and refinement. You aren't just creating; you're transforming. Think of yourself as a digital art director guiding an incredibly skilled assistant, rather than a painter staring at an empty canvas.
A few practical ways I’ve used it include:
- Style Transfer: Making one of my vacation photos look like it was painted by Van Gogh.
- Concept Art Finalization: Taking a rough pencil sketch of a sci-fi character and having the AI generate a fully rendered, photorealistic version.
- Scene Alteration: Transforming a photo taken on a sunny day into a moody, rain-slicked neon cityscape at night.
By preserving the core composition of the input image, img2img gives you a level of control that feels so much more intuitive and direct. You're in the driver's seat of the transformation, making sure the final output is a recognizable evolution of your original idea, not something completely random.
Democratizing Digital Artistry
Before Stability AI dropped the open-source release of Stable Diffusion in August 2022, this kind of powerful image manipulation was mostly locked away in expensive, cloud-based tools. Now, anyone with a decent consumer-grade GPU can run these models right from their own computer.
It's been a massive shift. By mid-2023, it was estimated that over 10 million people had already used Stable Diffusion. That number speaks volumes about its accessibility and impact. This explosion in use has empowered artists, designers, and hobbyists to experiment freely without worrying about subscription fees. We're seeing a similar community-driven trend with other models, too. You can see how this plays out by exploring Midjourney's V6 model advancements.
Ultimately, this accessibility is what has made image-to-image a true cornerstone of modern digital creation.
Getting Your Img2Img Workspace Ready
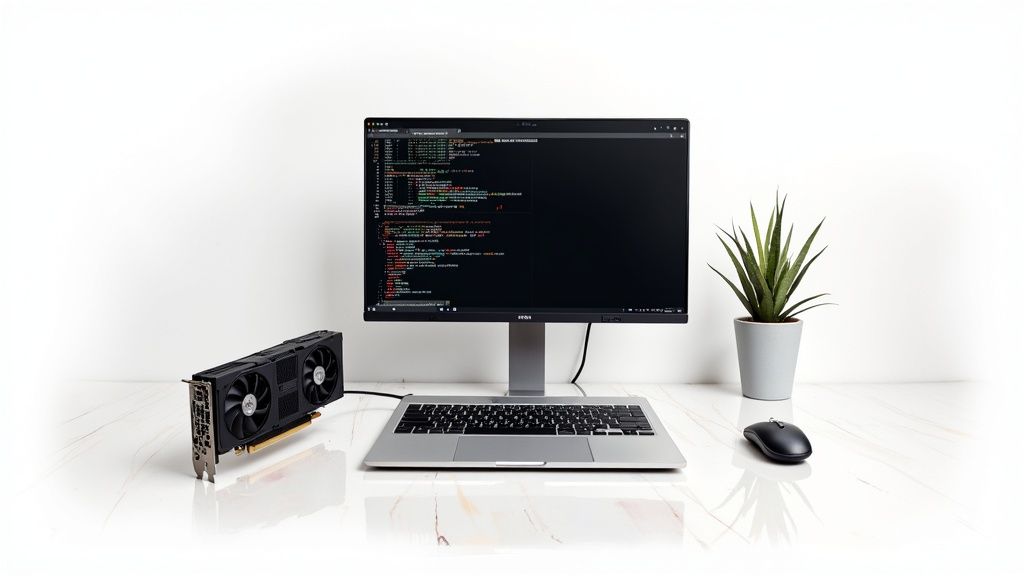
So, you're ready to jump into the Stable Diffusion image-to-image workflow. The first big decision you'll face is where to actually run it: on your own computer or through a cloud service? There’s no single right answer here. It really boils down to your hardware, your budget, and how much you like to tinker. Each path has its own set of trade-offs, pitting convenience against cost and raw power.
Going the local route gives you ultimate freedom. You’re not paying per image or worrying about subscription credits. You can experiment with any model, extension, or weird workflow you stumble upon online. The only catch? Your machine has to be up to the task.
The biggest factor is your graphics card's Video RAM (VRAM). You might be able to get by with 8GB of VRAM, but I'd strongly suggest having 12GB or more for a much smoother ride. This is especially true if you plan on using newer, beefier models like SDXL. Trying to run these on less VRAM can lead to painfully slow generation times or outright errors.
Choosing Your Local Interface
If your hardware is ready to go, you'll need an interface to actually use Stable Diffusion. The two most popular choices in the community are AUTOMATIC1111 and ComfyUI, and they cater to different kinds of users.
- AUTOMATIC1111: This is the classic, feature-rich choice. It’s got a straightforward interface with sliders, dropdowns, and tabs that make it a fantastic starting point. If you’re just getting your feet wet and want easy access to all the main settings, this is for you.
- ComfyUI: This one is for the power users. It’s a node-based system that looks more like a programmer's flowchart. It offers incredible flexibility for building complex, custom workflows from the ground up, but it definitely has a steeper learning curve.
The biggest win for a local setup is the one-time hardware cost. Once you've got the gear, the only ongoing expense is electricity. This means you can generate thousands of images without ever seeing another bill, which is a game-changer for high-volume creators.
Cloud Platforms for Simplicity
Now, if a local setup sounds like a technical headache or your computer just can't handle it, cloud platforms are a fantastic alternative. Services like Google Colab, RunDiffusion, or ThinkDiffusion do all the heavy lifting for you. You can get up and running in minutes, usually from right inside your web browser.
The trade-off, of course, is the cost. These services typically operate on a credit or pay-per-hour model. It’s super convenient for trying things out or for occasional use, but the costs can add up fast if you’re generating images constantly. You’re basically paying a premium for convenience and access to top-tier hardware without the upfront investment.
Finalizing Your Setup with a Model
No matter which path you take—local or cloud—the final piece of the puzzle is the model, also known as a "checkpoint." This is the core AI file that actually knows how to create images. A great place to start is with the official models, like SDXL 1.0, which you can find on hubs like Hugging Face.
Once you've downloaded it, you just need to place the model file (it will probably have a .safetensors extension) into the right folder. In AUTOMATIC1111, for example, this is the models/Stable-diffusion directory. After that, you're all set. Fire up the interface, select your new model from the dropdown, and you're ready to start transforming your first image.
This simple decision tree helps clarify when to use an image-to-image workflow.
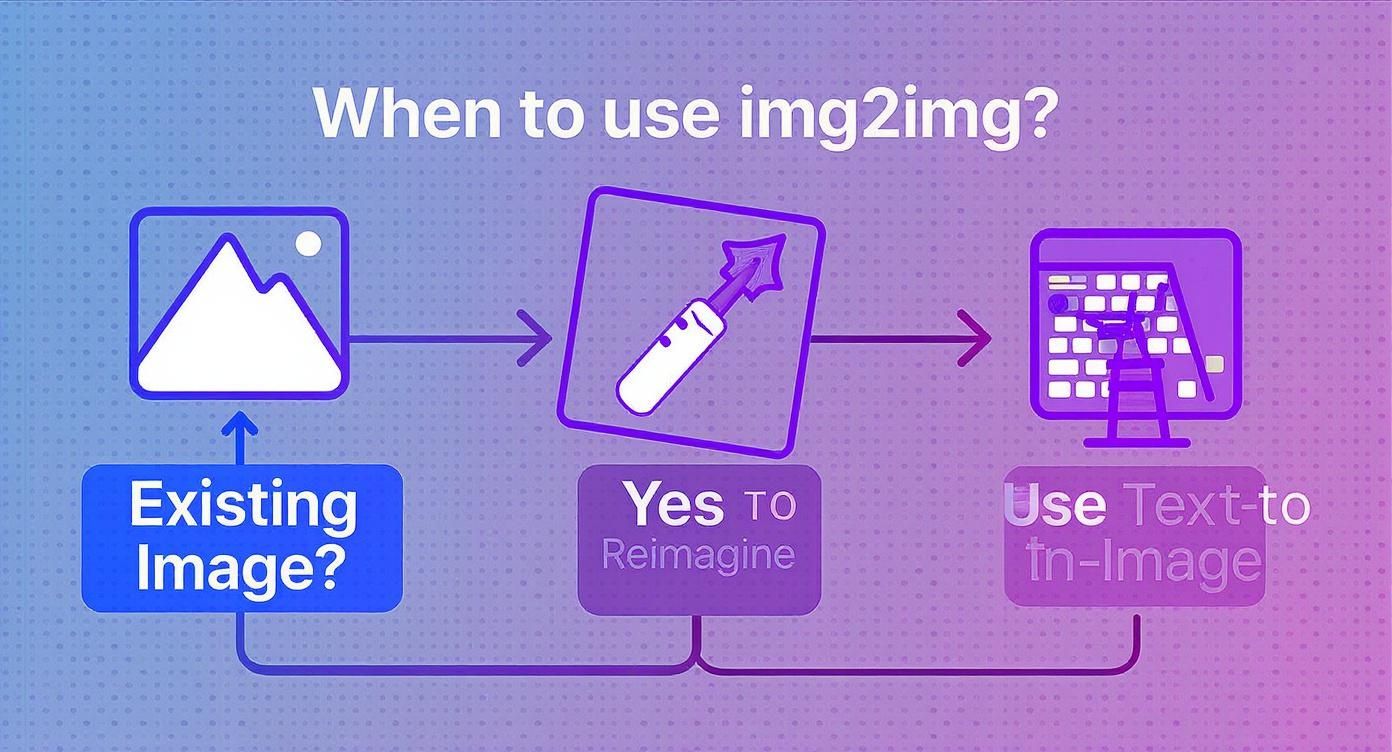
As the infographic shows, if you're starting with an existing image and want to riff on it, img2img is absolutely the way to go.
How to Dial In Your Creative Controls
Once your starting image is loaded, this is where the real fun begins. You’ll see a bunch of sliders and dropdown menus, and these are the controls you’ll use to steer the AI. Honestly, getting a feel for these is what separates a random, messy output from something that actually matches your creative vision.
It all comes down to a balancing act. These settings control how much the AI respects your original image versus how much it listens to your text prompt.
Push the AI too far, and you’ll completely lose the composition you liked. Don’t push it enough, and you might barely see a difference. Finding that perfect middle ground is the art form here.
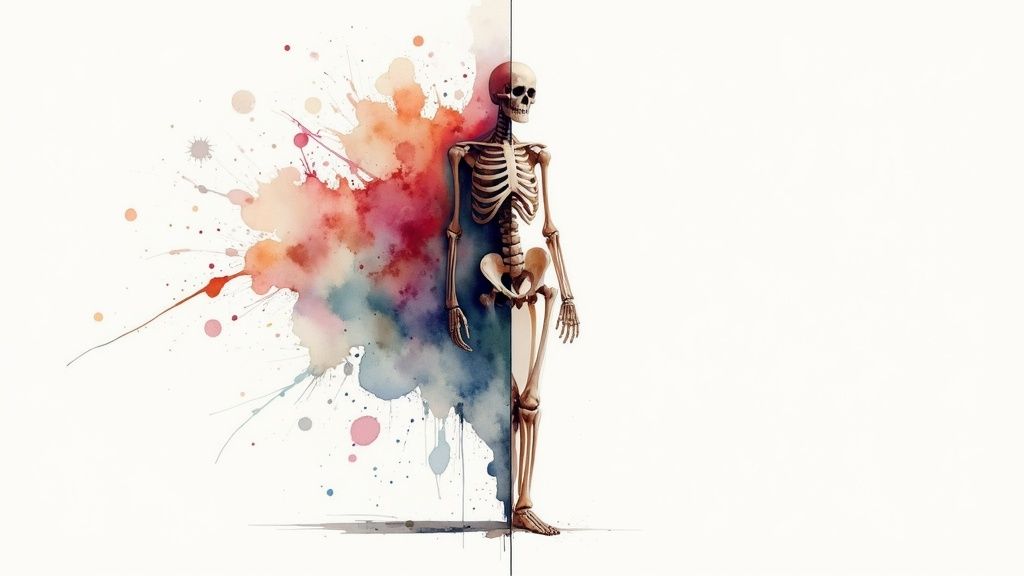
The All-Important Denoising Strength
If you only learn one setting, make it this one. Denoising Strength is the single most powerful slider in the entire image-to-image workflow. It manages the whole relationship between your input image and your prompt, operating on a simple scale from 0.0 to 1.0.
Think of it like this: a value of 0.0 tells the AI to make zero changes. You'll just get your original image back. Crank it all the way to 1.0, and the AI completely ignores your input image, generating a new one from scratch based only on your prompt—just like a normal text-to-image generation.
Here’s how I think about using it in practice:
- Low Denoising (0.1 - 0.4): This is your go-to for subtle changes. It's perfect when you already love the composition and just want to apply a different style, like turning a photograph into a watercolor painting without altering the subjects.
- Medium Denoising (0.4 - 0.7): This is the sweet spot where most of the magic happens. It gives the AI enough freedom to make significant changes based on your prompt while still holding on to the core structure of your original image.
- High Denoising (0.7 - 1.0): You want to venture into this territory when you're looking for a total overhaul. This is how you turn a rough sketch into a photorealistic scene, keeping only the basic shapes and layout.
I almost always start my experiments with a Denoising Strength around 0.65. It’s a fantastic middle ground that usually gives me a dramatic transformation without totally obliterating the soul of the original picture. From there, I can dial it up or down to fine-tune the result.
Guiding the AI with CFG Scale
While Denoising Strength controls the amount of change, the CFG Scale (Classifier Free Guidance) tells the AI how strictly it should follow your text prompt. A lower CFG value gives the AI more creative liberty, while a higher value forces it to stick much closer to your instructions.
A good starting point is usually 7. If you notice the AI is ignoring key details in your prompt, try bumping the CFG Scale up to 9 or 10. On the other hand, if your output looks too rigid or "over-baked," lowering it to 5 or 6 can often produce a more natural, organic result.
Fine-Tuning with Samplers and Seeds
Finally, there are two other essential controls that add another layer of precision and—crucially—reproducibility to your work: the Sampling Method and the Seed.
Core Img2Img Parameter Effects
This quick-reference table breaks down how the main parameters impact your final image. Use it to decide which slider to adjust when you're trying to achieve a specific effect.
| Parameter | Low Value Effect (e.g., 0.2) | High Value Effect (e.g., 0.8) | Best For |
|---|---|---|---|
| Denoising Strength | Stays very close to the original image. Minor style changes. | Drastically alters the image. Original is barely recognizable. | Low: Subtle style transfers. High: Complete reimagining. |
| CFG Scale | AI has more creative freedom; can deviate from the prompt. | AI follows the prompt very strictly. Less creative variation. | Low: More artistic, dreamy results. High: Precise, prompt-driven outputs. |
Understanding this interplay is key. You might use a high Denoising Strength to change a lot, but a low CFG Scale to let the AI get more creative with how it changes things.
Sampling Method
This dropdown determines the specific algorithm the AI uses to generate the image. Different samplers produce subtle variations in detail, style, and even how fast the image generates. Understanding the nuances of choosing the right Stable Diffusion sampling methods can really level up your results.
For newcomers, though, you can't go wrong sticking with popular, all-around choices like Euler a or DPM++ 2M Karras. They give great results without much fuss.
Seed Number
The Seed is just a number that kicks off the random noise pattern the AI starts with. The important thing to know is that if you use the same seed, prompt, and settings, you will get the exact same image every single time.
This is incredibly useful! When you create an image you really love, save that seed number. You can come back to it later to replicate it or just make tiny adjustments. If you want a completely new and random result with every click, just set the seed to -1.
Writing Prompts That Guide the Transformation
When you’re using Stable Diffusion's image-to-image workflow, your text prompt takes on a completely new role. It’s less of a director shouting orders from a blank slate and more of a collaborator whispering suggestions to an existing piece of art. The idea is to gently guide the transformation, not dictate a new scene from scratch.
Your prompt needs to work with your input image. Ask yourself: what do I want to change, and what do I want to keep? If you're starting with a portrait, your prompt should probably focus on shifting the style or setting, not trying to describe a completely different landscape.
Complementing Your Source Image
The best img2img prompts add a new layer of information that complements the composition you already have. Instead of just describing what you see, zero in on the change you want to make.
Let's say you have a basic photo of a dog in a park.
- A poor prompt would be something like: "a photo of a golden retriever sitting on green grass." This is redundant; it just describes the original.
- A good prompt introduces a new style: "a golden retriever, impressionist oil painting, thick brushstrokes."
- A great prompt gets creative and alters the subject's details and mood: "a golden retriever wearing a tiny superhero cape, cinematic lighting, dramatic."
The real magic happens when your prompt is specific about the artistic or thematic shift you're aiming for. This is a skill in itself, and you can go much deeper into the nuances by mastering AI prompt engineering.
The Power of Negative Prompts
Telling the AI what you want is only half the battle. Telling it what to avoid is your secret weapon. This is where negative prompts come in, and they are incredibly useful for cleaning up common AI artifacts and steering the generation away from things you don't want.
Even with today's powerful models, weird flaws pop up all the time. Some early 2025 research shows that up to 18% of generated images can have anatomical errors, with nearly 30% showing inconsistent lighting. You can read more about the current state of AI image generation from early 2025 research. Negative prompts are your first line of defense against these issues.
I have a standard set of negative prompts I drop into almost every single generation to maintain a baseline of quality. It's my go-to cleanup crew: "blurry, bad anatomy, ugly, tiling, poorly drawn hands, poorly drawn feet, poorly drawn face, out of frame, extra limbs, disfigured, deformed, body out of frame, bad art, extra fingers, mutated hands, watermark, grainy, signature, cut off, draft."
Adding these terms to the negative prompt field dramatically increases your chances of getting a clean, usable image on the first try. Think of it as putting up guardrails for the AI. It prevents it from wandering into those uncanny valleys and saves you from generating dozens of near-misses. By proactively telling the model what not to do, you give it a much clearer path to creating exactly what you want.
Taking Your Img2Img Workflows to the Next Level
Once you’ve got the hang of the basic settings, the real fun begins. This is where you move beyond simple style transfers and start exploring workflows that give you surgical control over your images. We’re talking about techniques that let you precisely edit tiny details or perfectly replicate an entire composition.
This is where Stable Diffusion image-to-image truly comes into its own, offering a level of precision that feels almost professional.
Two of the most powerful techniques you’ll want to master are Inpainting and ControlNet. They serve very different purposes, but both are absolutely essential if you’re serious about AI image creation.
Fine-Tuning with Inpainting
Think of Inpainting as a combination of a magic eraser and an infinitely creative paintbrush. This workflow is all about masking off a specific part of your image and telling the AI to regenerate only that selected area. It's incredibly handy for making targeted changes without messing up the rest of your picture.
For instance, you could use Inpainting to:
- Remove unwanted objects: Finally get rid of that tourist who walked into your otherwise perfect vacation photo.
- Add new elements: Drop a necklace onto a portrait or sketch a new building into a cityscape.
- Fix AI mistakes: Correct those notoriously weird AI-generated hands or other strange artifacts.
The process is refreshingly straightforward. You paint a mask over the section you want to change, then write a new prompt describing what you want to see there instead. The AI cleverly uses the surrounding pixels for context, ensuring the new content blends in seamlessly. It’s the go-to tool for detailed, polished work. You can see how this kind of precision elevates AI art in these mesmerizing Midjourney AI art pieces.
Nailing the Perfect Composition with ControlNet
If Inpainting is about what's in the image, ControlNet is all about the structure of the image. This extension gives you an almost unbelievable amount of control over composition by letting the AI borrow structural information from a reference image. It can analyze things like human poses, depth maps, or simple outlines and apply that structure to your new generation.
For example, using an OpenPose model within ControlNet lets you perfectly replicate a character's stance from a photo. Just feed it an image of someone in a specific pose, and ControlNet ensures your generated character mimics it exactly—right down to the angle of their limbs. This single-handedly solves one of the biggest headaches in AI art: getting characters to look natural and intentional.
Think of ControlNet as a blueprint for the AI. It forces the generation to follow a specific structure, giving you the power to direct the composition while letting the model fill in the creative details like style and texture.
This corner of the image-to-image world is evolving at a breakneck pace. We’re already seeing alternatives like FLUX.1 Dev, built by the original Stable Diffusion team, pushing the boundaries even further. In a 1,000-image benchmark, FLUX.1 hit a stunning 94.6% structural accuracy rate, blowing past other open-source models. Its dual-stream architecture processes the overall composition and fine details simultaneously, allowing for native 1024×1024 outputs without artifacts—a massive leap forward. You can discover more insights about these complete image-to-image models if you're curious. This kind of progress is setting a new standard for any work that demands precision.
Common Img2Img Questions Answered
As you get your hands dirty with Stable Diffusion's image-to-image workflows, you're bound to run into a few questions. It happens to everyone. Let's walk through some of the most common ones that trip people up.
A big point of confusion is often the difference between the main img2img tab and the inpainting tab. After all, they both change an existing picture, right? The simplest way to think about it is scale. The general img2img workflow is for big, sweeping changes—like transforming a photo into an oil painting. Inpainting, on the other hand, is your precision tool. It's for surgical edits, like changing the color of a car in a photo without touching anything else.
How Can I Fix Blurry or Low Quality Results
Winding up with a blurry, muddy, or low-detail image is a classic img2img headache, but it’s almost always fixable. The first thing I always check is the Denoising Strength. If you crank it up too high (usually anything over 0.8), you're basically telling the AI to ignore most of the original image and dream up something new, which often results in a mess.
If that's not the issue, here are a few other things to try:
- Bump Up Your Sampling Steps: Give the AI more time to cook. Pushing the steps up to 30-40 often gives it the extra processing time needed to sharpen details.
- Get Specific in Your Prompt: Don't be shy. Add keywords like "highly detailed, sharp focus, intricate details" right into your positive prompt to guide the AI toward a crisper result.
- Garbage In, Garbage Out: A blurry or low-res starting image is a recipe for a blurry output. Always start with the highest quality source image you can get your hands on.
Is It Legal to Use These Images Commercially
This is the big one, and the honest answer is: it's complicated. The legality of using AI-generated images for commercial projects really depends on the specific model you're using. Many of the foundational open-source models, like the official base Stable Diffusion checkpoints, come with very permissive licenses that generally allow for commercial use.
The real wild card is the custom models and LoRAs you find on community sites. You absolutely have to check the license terms for each one. The creator might have different rules, and the legal landscape for AI art is still being mapped out.
On a related note, as you dive deeper into creating AI images, it's really helpful to understand the other side of the coin: detection. Knowing how to check if a photo is real can give you a much better perspective on the entire ecosystem, especially as the lines between human and AI creation continue to blur.